SPD Upgrade Tool is a Windows-based flashing utility used to install stock firmware on smartphones powered by Spreadtrum / Unisoc chipsets. It is commonly used to restore bricked devices, fix bootloops, or reinstall official firmware distributed in .PAC format.
This guide explains how to safely flash stock ROM using SPD Upgrade Tool, including required files, preparation steps, and common causes of flashing failure.
Who This Guide Is For
Use this guide only if all conditions below apply:
- ✔ Your smartphone uses a Spreadtrum / Unisoc chipset
- ✔ Your firmware package is in
.PACformat - ✔ You are using a Windows PC
- ✔ You are flashing official stock firmware
Do NOT use this guide if:
- ❌ Your device uses Qualcomm Snapdragon or MediaTek chipsets
- ❌ Your firmware is not a
.PACfile - ❌ You are unsure whether the firmware matches your exact device model
⚠️ Warnings & Risks (Read Carefully)
- Flashing firmware will erase all user data
- Flashing incorrect firmware can hard-brick your device
- Interrupting the flashing process may cause permanent failure
- SPD Upgrade Tool is intended for official firmware only
FlashGuideHub does not host firmware files. Always verify that you are using the correct firmware for your exact device variant.
Requirements
Before starting, make sure you have the following:
- Windows PC or Laptop
- Reliable USB cable (data transfer supported)
- SPD Upgrade Tool (latest compatible version)
- SPD / Unisoc USB drivers installed
- Correct
.PACfirmware file for your device - At least 50% battery charge
Preparation Steps
- Install the SPD / Unisoc USB drivers on your PC
(A system restart after installation is recommended.) - Extract the stock firmware package to an easy-to-access folder.
- Extract the SPD Upgrade Tool archive.
- Power off the smartphone completely.
Step-by-Step: Flashing Firmware with SPD Upgrade Tool
Step 1: Launch SPD Upgrade Tool
- Open the extracted SPD Upgrade Tool folder
- Run
UpgradeDownload.exeas Administrator
You should now see the SPD Upgrade Tool interface.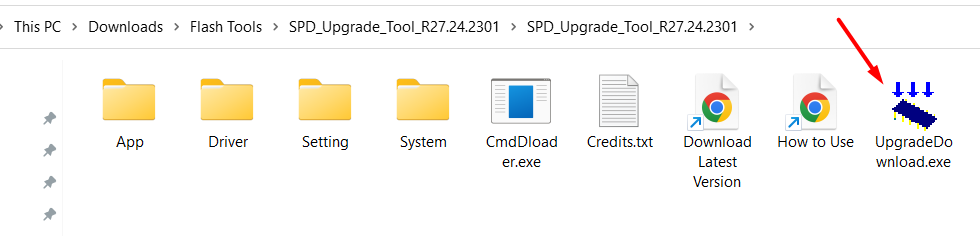
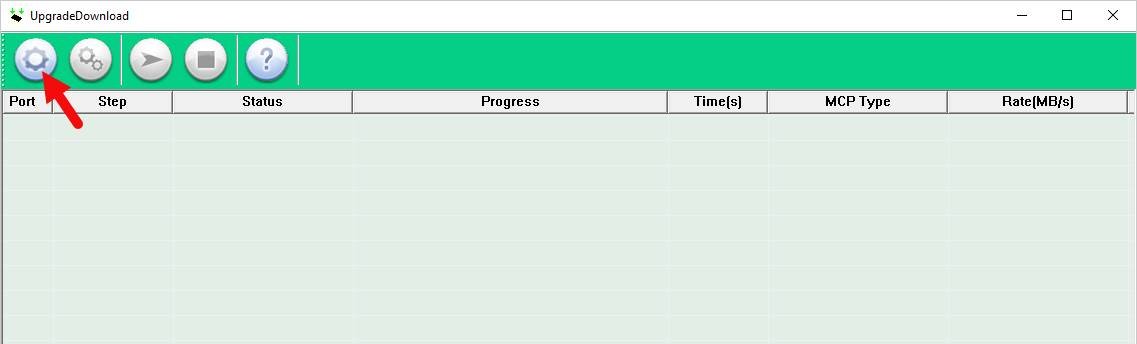
Step 2: Load the PAC Firmware File
- Click the Settings (gear icon) button
- Browse to the extracted firmware folder
- Select the correct
.PACfile - Click Open to load the firmware
Step 3: Connect the Device
- Power off the smartphone
- Connect it to the PC using a USB cable
(Some devices may require holding Volume Up or Volume Down while connecting.)
If drivers are installed correctly, the tool will detect the device.
Step 4: Start Flashing
- Click the Start button in SPD Upgrade Tool
- Do not disconnect or move the device during flashing

Flashing usually takes 3–10 minutes.
Step 5: Completion
Once flashing completes successfully, you will see a “Previous Passed” message.

- Disconnect the USB cable
- Power on the device
- Wait patiently — first boot may take longer than usual
Common SPD Upgrade Tool Problems
If flashing fails, common causes include:
- ❌ Incorrect
.PACfirmware file - ❌ Missing or outdated SPD USB drivers
- ❌ Incompatible firmware for the device variant
- ❌ Faulty USB cable or USB port
- ❌ Interrupting the flashing process
Most SPD flashing errors are preventable by double-checking firmware compatibility and drivers before starting.
Post-Flash Checklist
After successful flashing:
- Complete Android setup
- Verify system version
- Confirm IMEI and network signal
- Factory reset if recommended by the manufacturer
Frequently Asked Questions
Does SPD Upgrade Tool unlock the bootloader?
No. It only flashes firmware.
Can SPD Upgrade Tool fix a hard-bricked phone?
In many cases, yes — if the correct .PAC firmware is used.
Is SPD Upgrade Tool safe?
Yes, when used with correct firmware and proper drivers.
Final Notes
SPD Upgrade Tool is a reliable flashing solution for Spreadtrum / Unisoc devices when used carefully. Always verify firmware compatibility, follow each step exactly, and never interrupt the flashing process.