

Before you flash: Flashing firmware will erase all data on your device. Back up contacts, photos, and apps before proceeding. FlashGuideHub is not responsible for any damage caused by following this guide.
About the Ulefone Armor X7 Pro
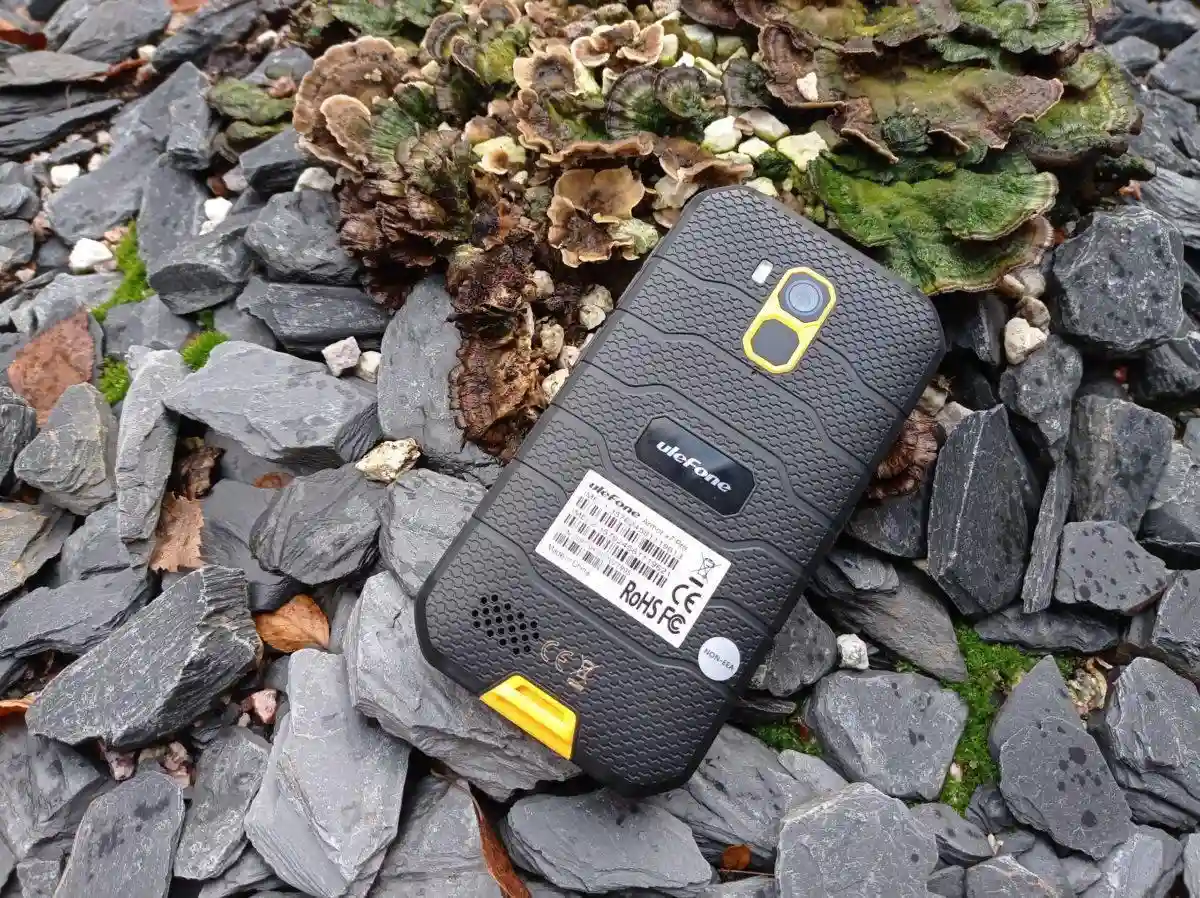
The Ulefone Armor X7 Pro is a rugged 4G smartphone released in June 2020, powered by the MediaTek Helio A20 (MT6761V/WE / MT6762D) quad-core platform. Ulefone released official firmware builds for European Economic Area (EEA) models spanning both Android 10 and Android 12 operating systems.
Firmware packages for this device are structured for MediaTek SP Flash Tool and contain a full scatter-loading configuration. The sections below provide step-by-step flashing instructions, driver prerequisites, and hardware recovery details.
Which Flash Mode Should You Use?
SP Flash Tool (Scatter Package)
The official and recommended method for flashing stock Ulefone firmware. Writes partition images directly over MediaTek BROM / Preloader mode without requiring bootloader unlocking.
MTKClient (BROM Auth Bypass / Flashing)
Open-source command-line tool for MediaTek chipsets. Useful for dumping partition backups, unbricking hard-bricked devices, or bypassing SLA/DA hardware authentication when SP Flash Tool fails.
Qualcomm EDL / QFIL (Not Applicable)
Qualcomm Emergency Download (EDL 9008) mode and QFIL tools apply exclusively to Qualcomm Snapdragon chipsets. The Ulefone Armor X7 Pro uses a MediaTek Helio A20 SoC and requires MediaTek flashing tools.
What You Need Before Flashing
SP Flash Tool and MediaTek USB VCOM drivers run natively on Windows 10/11 (64-bit recommended).
Download the official Android 10 or Android 12 EEA scatter package corresponding to your desired OS version.
Use a high-quality data cable connected directly to a rear PC motherboard USB 2.0 port rather than an external hub.
Ensure the 4000mAh non-removable battery has sufficient charge to prevent interruption during the flash sequence.
A full stock flashing operation formats system and user partitions, erasing all stored files and settings.
How to Flash the Ulefone Armor X7 Pro — Quick Overview
6-step quick reference for the Ulefone Armor X7 Pro. Need visuals or troubleshooting help? The full SP Flash Tool guide covers everything in detail.
-
Verify build version and Android generation
-
Install MediaTek USB VCOM drivers and SP Flash Tool
-
Extract firmware archive and load scatter file
-
Arm Download mode in SP Flash Tool
-
Connect powered-off phone in BROM mode
-
Wait for green checkmark and reboot
Finding the Firmware Package for MT6761 / MT6762
MT6761_Android_scatter.txt
Official Ulefone Armor X7 Pro packages extract to a standard MediaTek scatter configuration containing MT6761_Android_scatter.txt (or MT6762_Android_scatter.txt) along with individual partition binaries (boot.img, recovery.img, super.img / system.img, preloader_k62v1_64_bsp.bin). Fully unpack the downloaded .zip or .rar archive before opening SP Flash Tool, and point the scatter loader directly to the text file inside the uncompressed folder.
Ulefone Armor X7 Pro Firmware Versions
Official firmware builds for the Ulefone Armor X7 Pro. Select the Android generation that matches your device requirements.
| Version | Region | Android Version | Size | MD5 | Download |
|---|---|---|---|---|---|
V3.03 (20230809) |
EEA (European Economic Area) — Android 12 | Android 12 | 2.36 GB | — | ⬇️ Download |
V3.03 (20230703) |
EEA (European Economic Area) — Android 10 | Android 10 | 1.32 GB | — | ⬇️ Download |
This device has 2 known files in the official firmware archive. See the complete archive on AndroidFirmwareFile.com →
Common Errors on the Ulefone Armor X7 Pro
SP Flash Tool: "BROM ERROR : S_FT_ENABLE_DRAM_FAIL (4032)"
Indicates an incorrect EMI/DRAM initialization profile or mismatched scatter package. Confirm you have selected the exact scatter file extracted from your device's firmware archive and that your SP Flash Tool build includes updated MTK DA binaries.
MediaTek VCOM Port disappears after 2 seconds
The phone is exiting BROM mode and attempting to charge instead of handshake. Disconnect USB, hold Power for 15 seconds to ensure complete shutdown, click Download in SP Flash Tool first, then connect USB while firmly holding Volume Down.
Device stuck on Ulefone rugged boot logo after flash
Typically caused by cached user data conflicts between Android 10 and 12 releases. Power off, boot into Stock Recovery by holding Volume Up + Power, and select "Wipe data/factory reset".
SP Flash Tool: "STATUS_ERR (-1073414143)" / Handshake Timeout
Communication handshake failed over the USB line. Use a known-good Micro-USB data cable, avoid USB 3.0/3.1 ports or external hubs, and reconnect directly to a USB 2.0 port.
For additional error solutions and MediaTek BROM troubleshooting: SP Flash Tool Error Directory →
Frequently Asked Questions — Ulefone Armor X7 Pro
Yes, flashing the official stock Android 10 package via SP Flash Tool will replace all partition images with the Android 10 release. Because this transitions across major Android versions and partition table structures, perform a full factory reset before or immediately after flashing to prevent bootloops.
No. SP Flash Tool communicates directly with the MediaTek Helio A20 BROM and Preloader hardware interfaces. It flashes official signed images without requiring an unlocked bootloader.
This usually happens when the MediaTek VCOM preloader driver fails to maintain the connection before switching from port enumeration to flashing mode. Install unsigned MediaTek VCOM drivers, connect using a rear USB 2.0 motherboard port, and ensure the phone is fully powered down before connecting with Volume Down held.
Certain newer Helio A20 software revisions enforce MediaTek SLA/DA authentication. If standard SP Flash Tool fails with an authentication error, use MTKClient (or MTK Auth Bypass Tool) to disable BROM protection before clicking Download in SP Flash Tool.
Ready to Flash?
Follow the full step-by-step SP Flash Tool guide with interactive progress tracking, prerequisite checklist, and complete troubleshooting.