

Before you flash: Flashing firmware will erase all data on your device. Back up contacts, photos, and apps before proceeding. FlashGuideHub is not responsible for any damage caused by following this guide.
About the Xiaomi POCO M2
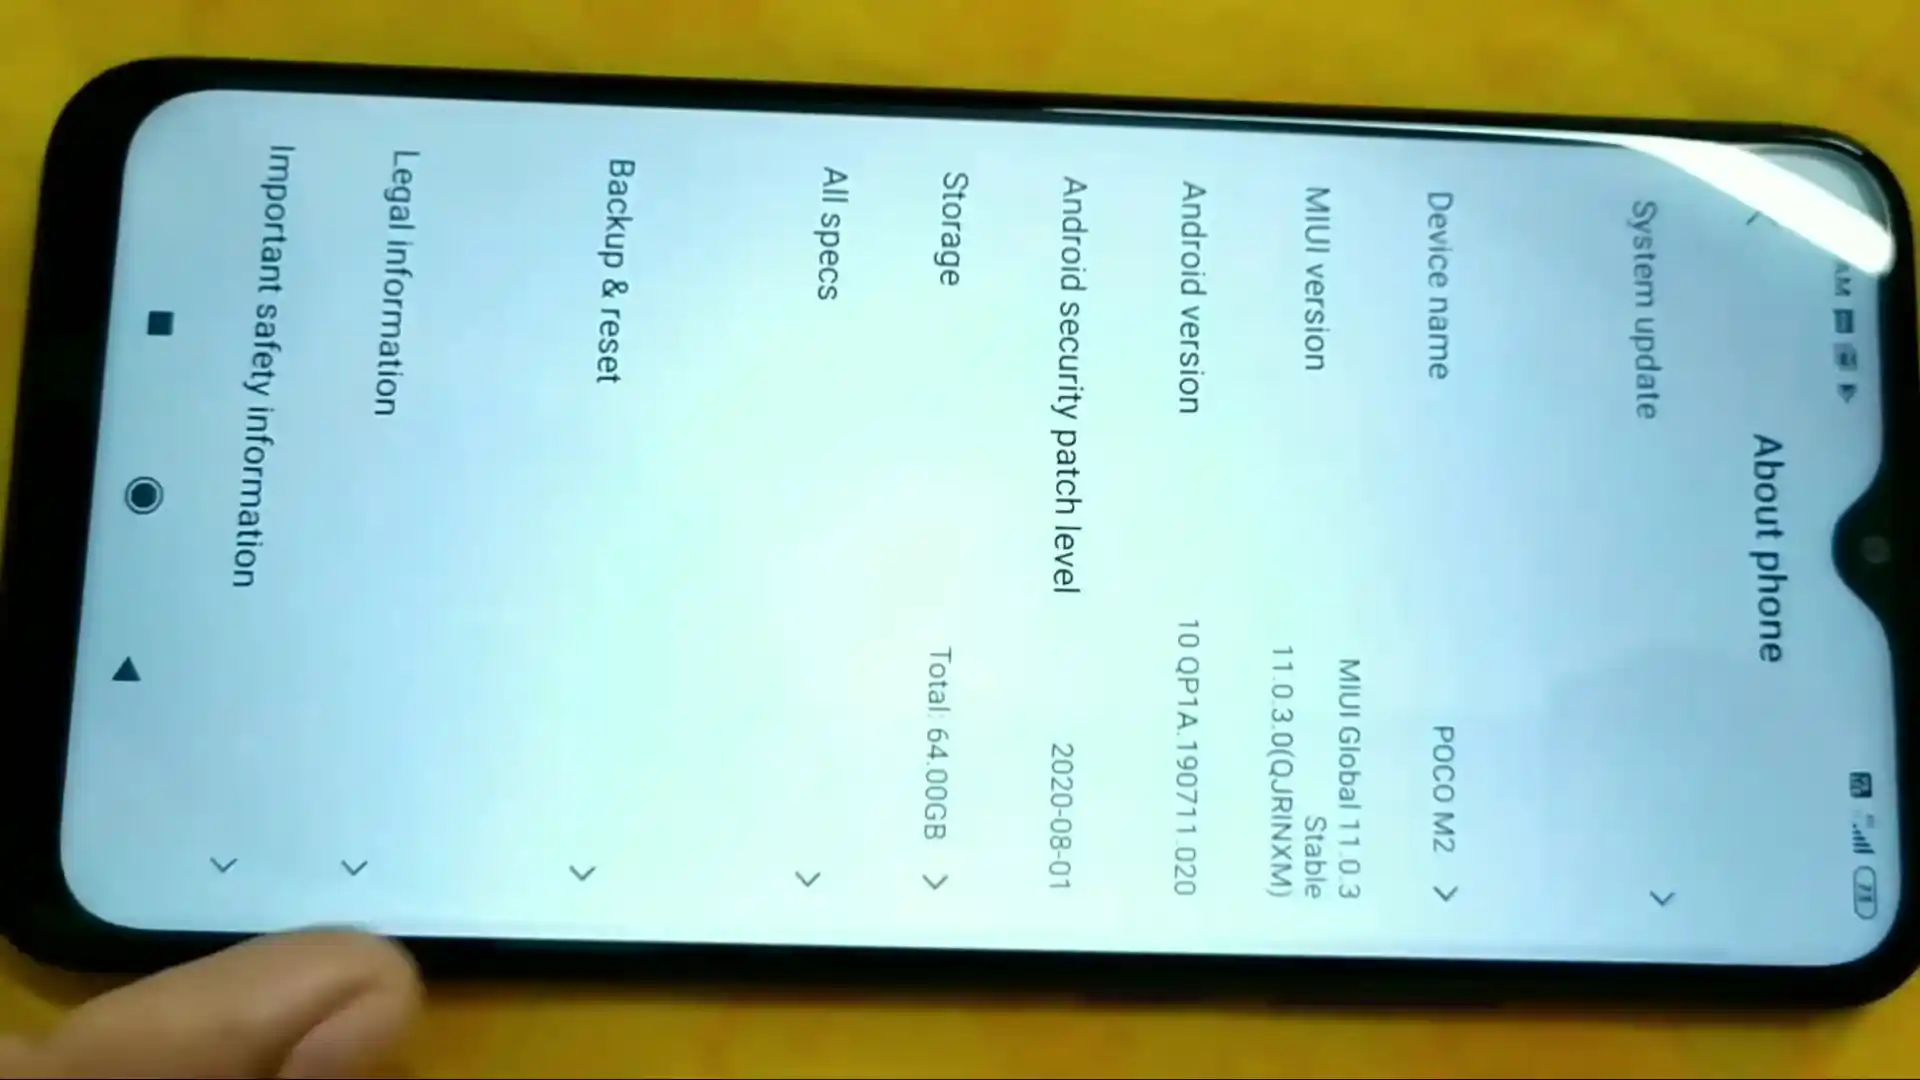
The Xiaomi POCO M2, launched in September 2020, is powered by the MediaTek Helio G80 (MT6769V/CU) processor with a 6.53-inch FHD+ display, quad camera system, and a 5000 mAh battery. Whether recovering from an unexpected bootloop or performing a complete system restore, flashing official stock Fastboot firmware returns the device to a clean factory state.
This guide provides step-by-step instructions for flashing stock Fastboot packages using the official Xiaomi Mi Flash Tool. Follow the detailed steps below to install official firmware, verify driver connections, and safely restore your Xiaomi POCO M2.
Which Flash Mode Should You Use?
Fastboot Mode (Bootloader)
Standard flashing mode for writing official Fastboot TGZ packages using Mi Flash Tool or command-line fastboot.
Recovery Mode (Stock)
Used for factory data resets, cache wipes, and installing official recovery OTA update packages via Mi Assistant.
MediaTek BROM Mode (EDL)
Emergency low-level download mode for unbricking hard-bricked handsets with a corrupted bootloader via SP Flash Tool.
Custom Recovery (TWRP 3.4.2)
Touch-driven custom recovery environment for installing zip packages, custom ROMs, Magisk root, and NAND backups.
Essential Prerequisites Before Flashing POCO M2
Ensure your POCO M2 battery is charged to at least 50% to prevent sudden power loss during partition writes to eMMC storage.
Fastboot flashing requires an officially unlocked bootloader via the Xiaomi Mi Unlock utility linked to your Mi account.
Use a Windows 10 or 11 PC and connect your phone to a native rear USB 2.0 port to prevent communication drops during flashing.
Install 7-Zip to unpack the downloaded .tgz archive twice into a short directory path without spaces (such as C:\pocom2_fw).
Flashing via flash_all.bat completely erases internal storage. Back up all essential photos, contacts, and personal files before starting.
5-Step Mi Flash Flashing Walkthrough for POCO M2
A fast reference for flashing the Xiaomi POCO M2 (Helio G80) using Mi Flash Tool. For the complete walkthrough with images and error troubleshooting, see the full guide.
-
Extract shiva_in_global_images_V12.5.7.0.RJRINXM_20220727.0000.00_11.0_in_ea3f195178.tgz twice with 7-Zip.
-
Hold Volume Down + Power for 8 seconds to enter Fastboot, or verify BROM test point pads for unbrick.
-
Verify fastboot connection and check anti-rollback index via fastboot getvar anti.
-
In Mi Flash Tool, select the extracted folder and strictly choose "clean all" (flash_all.bat).
-
Click Flash to write partitions to eMMC storage and preserve persist sensor calibration.
MediaTek Helio G80 Fastboot Script & Scatter Architecture
The Xiaomi POCO M2 utilizes a Fastboot batch flashing structure driven by flash_all.bat alongside MediaTek MT6769 scatter partition definitions.
flash_all.bat
Official Fastboot ROM packages for the POCO M2 contain individual partition images (boot.img, recovery.img, super.img, cust.img) and automated batch scripts. The flash_all.bat script writes all factory partitions while formatting internal user data to ensure a completely clean factory state.
Always ensure your POCO M2 bootloader is unlocked before attempting to flash via Fastboot mode. Never choose clean all and lock on imported models.
Xiaomi POCO M2 Firmware Versions
The following official Fastboot package has been tested for the Xiaomi POCO M2 (shiva). Always verify your model code before flashing.
| Version | Region | Android Version | Size | MD5 | Download |
|---|---|---|---|---|---|
V12.5.7.0.RJRINXM |
India (IN) | Android 11.0 (MIUI 12.5 for POCO) | 2.7 GB | ea3f19517889beebf9a0b312b616d853 |
⬇️ Download |
Need additional firmware versions, TWRP recovery, or regional archive packages? Browse the full POCO M2 firmware archive on AndroidFirmwareFile.com →
MediaTek Helio G80 Partition Details & Storage Handling
When unbricking or updating the Xiaomi POCO M2 (shiva), always use official Fastboot packages such as shiva_in_global_images_V12.5.7.0.RJRINXM_20220727.0000.00_11.0_in_ea3f195178.tgz. Fastboot mode writes partition images directly to the internal eMMC 5.1 storage without requiring third-party custom recoveries.
For low-level unbricking where the bootloader is completely non-responsive, the MediaTek MT6769 SoC supports Boot ROM (BROM) recovery via motherboard test points paired with an authorization bypass utility. Always verify that your USB connection is stable and that you avoid formatting the protected NVRAM partition.
Troubleshooting Xiaomi POCO M2 Flashing & MediaTek Boot Errors
Bootloader Locked Rejection: "FAILED (remote: 'Flashing is not allowed in Lock State')"
The MediaTek Helio G80 bootloader security blocks partition writes via flash_all.bat when locked. Enable "OEM unlocking" and "USB debugging" under Developer Options, pair your Mi Account with the phone, and complete the official Mi Unlock tool procedure on Windows before flashing.
MediaTek BROM SLA/DA Authorization Block: "STATUS_SEC_AUTH_FILE_NEEDED (0xC0030012)"
When using low-level MediaTek utilities on the MT6769 chipset, Xiaomi's secure boot architecture requires service center authentication keys. Use an open-source MediaTek Auth Bypass tool (such as mtk-auth-bypass or mtkclient) to bypass SLA/DA handshake requirements before loading the scatter file.
SP Flash Tool Handshake Drop: "BROM ERROR: S_BROM_CMD_STARTCMD_FAIL (0x7D5)"
The PC dropped communication during the preloader handshake phase. This commonly occurs when connecting through front-panel USB ports, USB 3.0 controller dropouts on AMD systems, or insufficient battery charge. Connect using an authentic USB cable on a rear motherboard USB 2.0 port while holding Volume Down.
Encountering flashing errors or driver issues? Consult our solutions below. Troubleshooting & Error Guide →
POCO M2 Workshop Flashing & Troubleshooting FAQ
Stock MIUI on the POCO M2 includes an active recovery-check script inside the stock boot and vendor partitions that automatically restores the factory recovery during the next boot. To maintain TWRP 3.4.2, flash a disabled vbmeta image immediately after installing the recovery: "fastboot --disable-verity --disable-verification flash vbmeta vbmeta.img". Alternatively, boot directly into TWRP on the first restart using "fastboot boot twrp.img" and flash Magisk or a custom zip to prevent stock recovery restoration.
On Windows 10 and 11, the operating system frequently misidentifies the Fastboot interface as a Kedacom USB Device or incompatible generic bootloader interface, preventing adb and fastboot commands from detecting the phone. To resolve this, open Windows Device Manager while the phone is connected in Fastboot mode, locate the Kedacom or Unknown device node, select "Update driver" > "Browse my computer" > "Let me pick from a list", and assign the "Android Device" > "Android Composite ADB Interface" or standard Google Fastboot Interface driver.
Selecting "Format All + Download" in SP Flash Tool erases the physical eMMC flash memory completely, including the protected NVRAM and NVDATA partitions. These partitions store the device's unique factory IMEI numbers, baseband calibration parameters, and MAC addresses. Once erased, the phone loses cellular network connectivity and displays an "Invalid IMEI" error. When performing low-level MediaTek restorations, always use "Firmware Upgrade" or "Download Only".
Ready to Flash?
Follow the full step-by-step Mi Flash Tool guide with interactive progress tracking, prerequisite checklist, and complete troubleshooting.