

Before you flash: Flashing firmware will erase all data on your device. Back up contacts, photos, and apps before proceeding. FlashGuideHub is not responsible for any damage caused by following this guide.
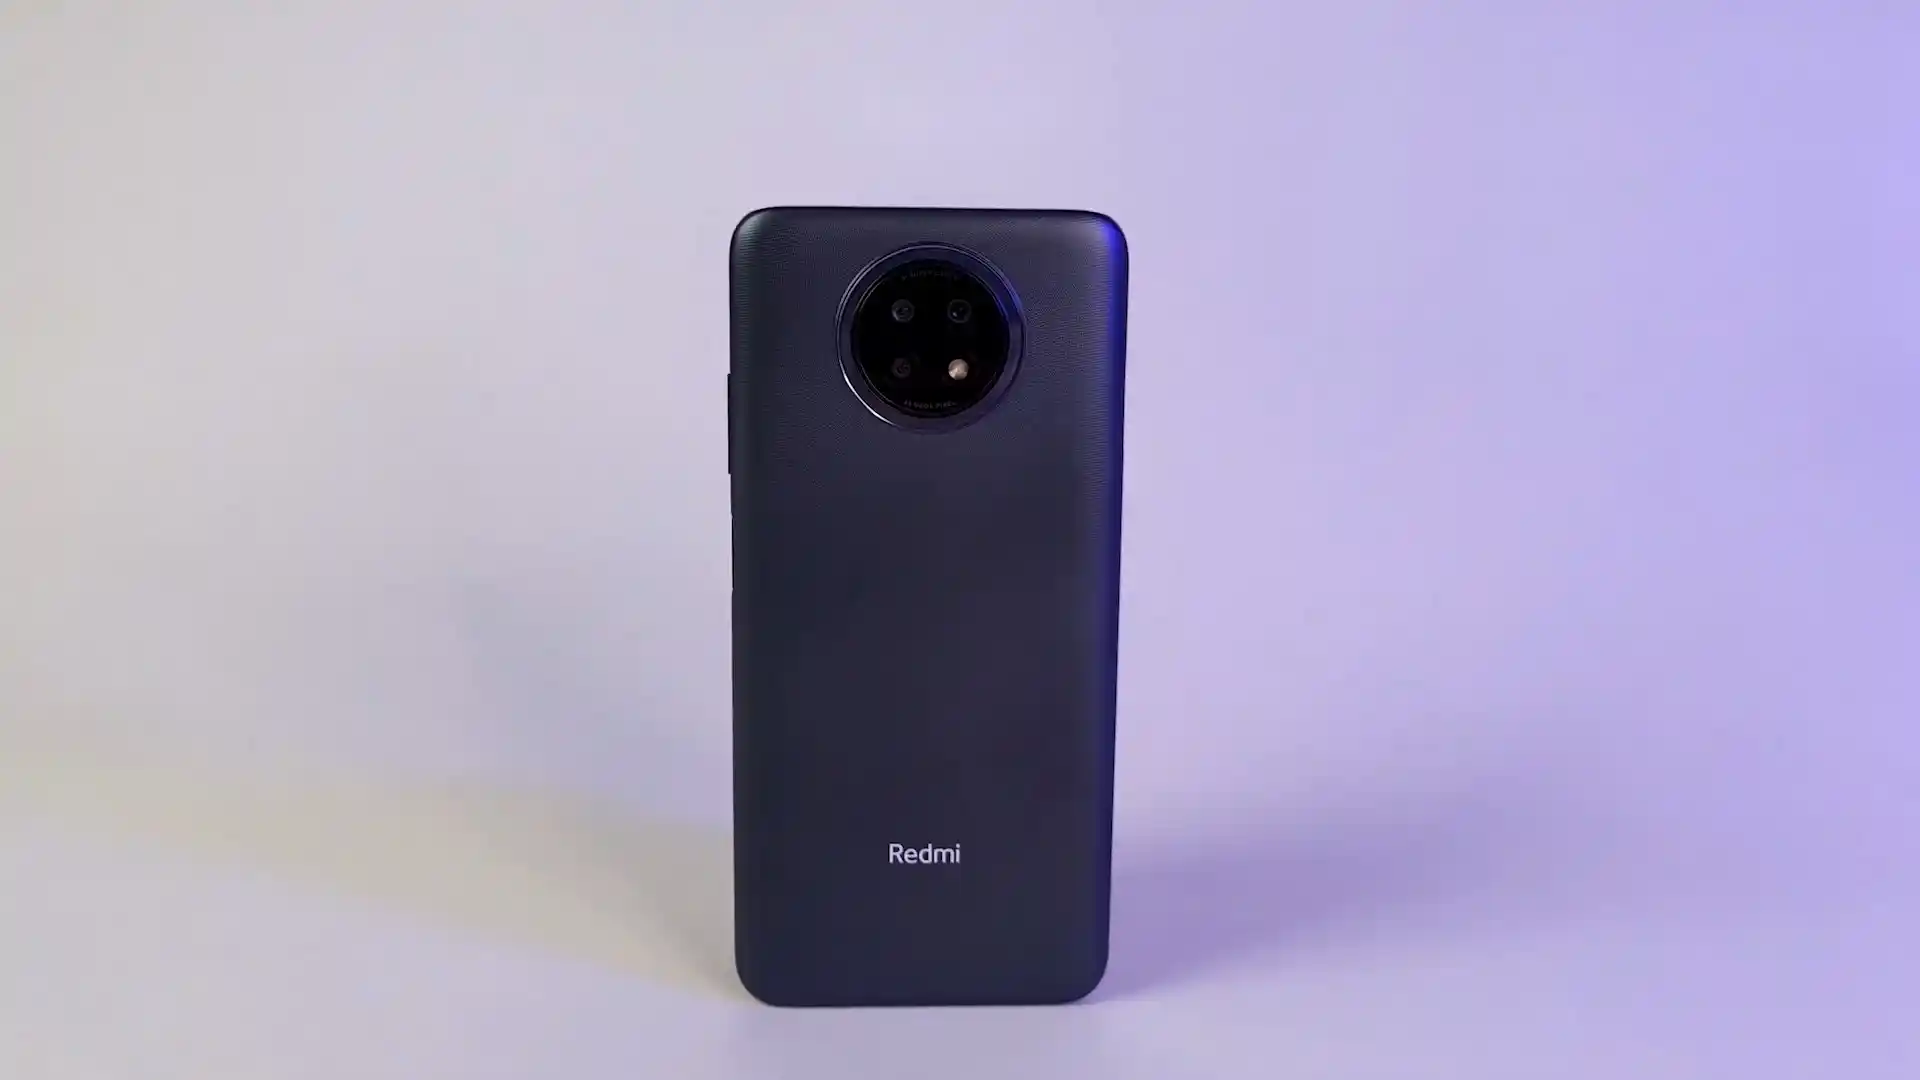
About the Xiaomi Redmi Note 9 5G (cannon)
The Xiaomi Redmi Note 9 5G (cannon) was released in November 2020, featuring the 7nm MediaTek Dimensity 800U 5G MT6853V/TN (7nm TSMC) processor and dynamic partition architecture. Flashing official stock Fastboot firmware allows users to restore factory stability, unbrick devices from bootloops, or clear system errors after unsuccessful software modifications.
This procedural flashing handbook guides you through preparing your computer, establishing a stable Fastboot connection, and flashing the official Xiaomi Redmi Note 9 5G (cannon) stock ROM using verified tools.
Which Flash Mode Should You Use?
Fastboot Mode (Recommended)
Primary environment for writing stock TGZ packages via Mi Flash Tool or Fastboot CLI commands.
Recovery Mode (Stock / TWRP)
Used for applying official OTA ZIP updates or flashing custom recoveries and custom ROMs.
MediaTek BROM Mode (Emergency Unbrick)
Low-level hardware recovery mode executed before the preloader executes for unbricking dead devices.
Pre-Flash Hardware Checks & Dimensity 800U Driver Setup
Ensure your Redmi Note 9 5G holds at least 50% battery charge to prevent unexpected power cutoffs during large partition transfers.
Official Fastboot flashing requires an unlocked bootloader via the official Xiaomi Mi Unlock desktop utility.
Connect directly to a rear motherboard USB 2.0 port with a reliable Type-C cable to avoid xHCI transfer timeouts.
Use 7-Zip to decompress the .tgz archive twice until flash_all.bat and the images directory are accessible.
Install Xiaomi Mi Flash Tool with official Qualcomm and MediaTek USB drivers properly loaded on Windows.
5-Step Fastboot & Mi Flash Restoration Walkthrough
5-step quick reference for the Xiaomi Redmi Note 9 5G (cannon). Need visuals or troubleshooting help? The full Mi Flash Tool guide covers everything in detail.
-
Unlock bootloader through official Xiaomi Mi Unlock tool
-
Extract cannon_images_V14.0.6.0.SJECNXM with 7-Zip to reveal flash_all.bat
-
Boot into Fastboot mode and confirm cannon identity with fastboot getvar product
-
Open Mi Flash Tool, select the extracted folder, and set clean all
-
Flash dynamic super partition and set slot active with fastboot set_active a if needed
Fastboot Script & Partition Map (cannon)
The stock package for Xiaomi Redmi Note 9 5G includes the flash_all.bat batch script which orchestrates partition deployment across boot, dtbo, vbmeta, and dynamic super partitions.
flash_all.bat
Xiaomi Fastboot packages for MediaTek devices use flash_all.bat instead of a classic scatter file to flash images sequentially via fastboot.exe.
Always verify that you choose clean all (flash_all.bat) inside Mi Flash Tool. Never select clean all and lock unless you are restoring factory stock software on the native domestic variant with matching cryptographic certificates.
Xiaomi Redmi Note 9 5G (cannon) Firmware Versions
Below is the verified final official China Fastboot package for Xiaomi Redmi Note 9 5G (cannon).
| Version | Region | Android Version | Size | MD5 | Download |
|---|---|---|---|---|---|
V14.0.6.0.SJECNXM (MIUI 14) |
China (CN) | Android 12.0 | 5.1 GB | ce9fc0ac4876041df59fa098a400da36 |
⬇️ Download |
Looking for custom recoveries or TWRP images? View all packages and custom recoveries on AndroidFirmwareFile
MediaTek MT6853 Dynamic Partition Architecture
When unbricking or updating the Xiaomi Redmi Note 9 5G (cannon), extract cannon_images_V14.0.6.0.SJECNXM_20231017.0000.00_12.0_cn_ce9fc0ac48.tgz into a dedicated root directory. The MediaTek Dimensity 800U chipset enforces dynamic super partition structures under Android 11 and 12, making a clean Fastboot deployment the most reliable recovery method.
Troubleshooting Redmi Note 9 5G Fastboot & Mi Flash Errors
Device Mismatch Error: "mismatching image and device error"
Triggered when running flash_all.bat on a device that is not recognized as cannon (such as attempting to flash cannon images onto a European cannong Redmi Note 9T). The flashing script verifies the hardware variable via fastboot getvar product. Always confirm your device codename before starting the flasher.
MediaTek BROM SLA Challenge: Unauthenticated BootROM Connection
When connecting a hard-bricked MT6853 phone in BROM mode for low-level recovery, the hardware rejects unauthorized flasher handshakes. Technicians must utilize an MTK auth bypass utility with LibUSB filter drivers to bypass SLA/DA restrictions before flashing with SP Flash Tool.
Fastboot Write Failure: "FAILED (remote: data too large)"
Occurs when an outdated fastboot client fails to negotiate maximum sparse buffer sizes during super.img partition writing. Update to the latest Android SDK Platform-Tools and connect via a native USB 2.0 port to resolve transmission size limits.
Encountering issues during flashing? Review verified fixes for common Dimensity 800U Fastboot and driver errors. Troubleshooting Guide →
Frequently Asked Questions About Flashing cannon
The MediaTek Dimensity 800U platform utilizes dynamic partitions packed inside a multi-gigabyte super.img container. High-speed USB 3.0/3.1 xHCI host controllers can encounter packet buffer overruns during sustained transfers. Connecting your USB Type-C cable directly to a native USB 2.0 port on the rear motherboard I/O panel ensures stable data transfer throughput.
Redmi Note 9 5G stores optical fingerprint baselines, proximity sensor calibration, and camera ISP pairing data inside a dedicated persist partition. Running official flash_all.bat in Mi Flash Tool specifically avoids flashing or formatting the persist partition, maintaining hardware sensor calibration.
On MediaTek Virtual A/B architecture, if the bootloader active slot flag does not align with the updated system slot, the phone restarts directly into FASTBOOT. Executing fastboot set_active a followed by fastboot reboot from a command prompt sets slot A active and allows normal system initialization.
Ready to Flash?
Follow the full step-by-step Mi Flash Tool guide with interactive progress tracking, prerequisite checklist, and complete troubleshooting.