

Before you flash: Flashing firmware will erase all data on your device. Back up contacts, photos, and apps before proceeding. FlashGuideHub is not responsible for any damage caused by following this guide.
About the Xiaomi Redmi Note 10
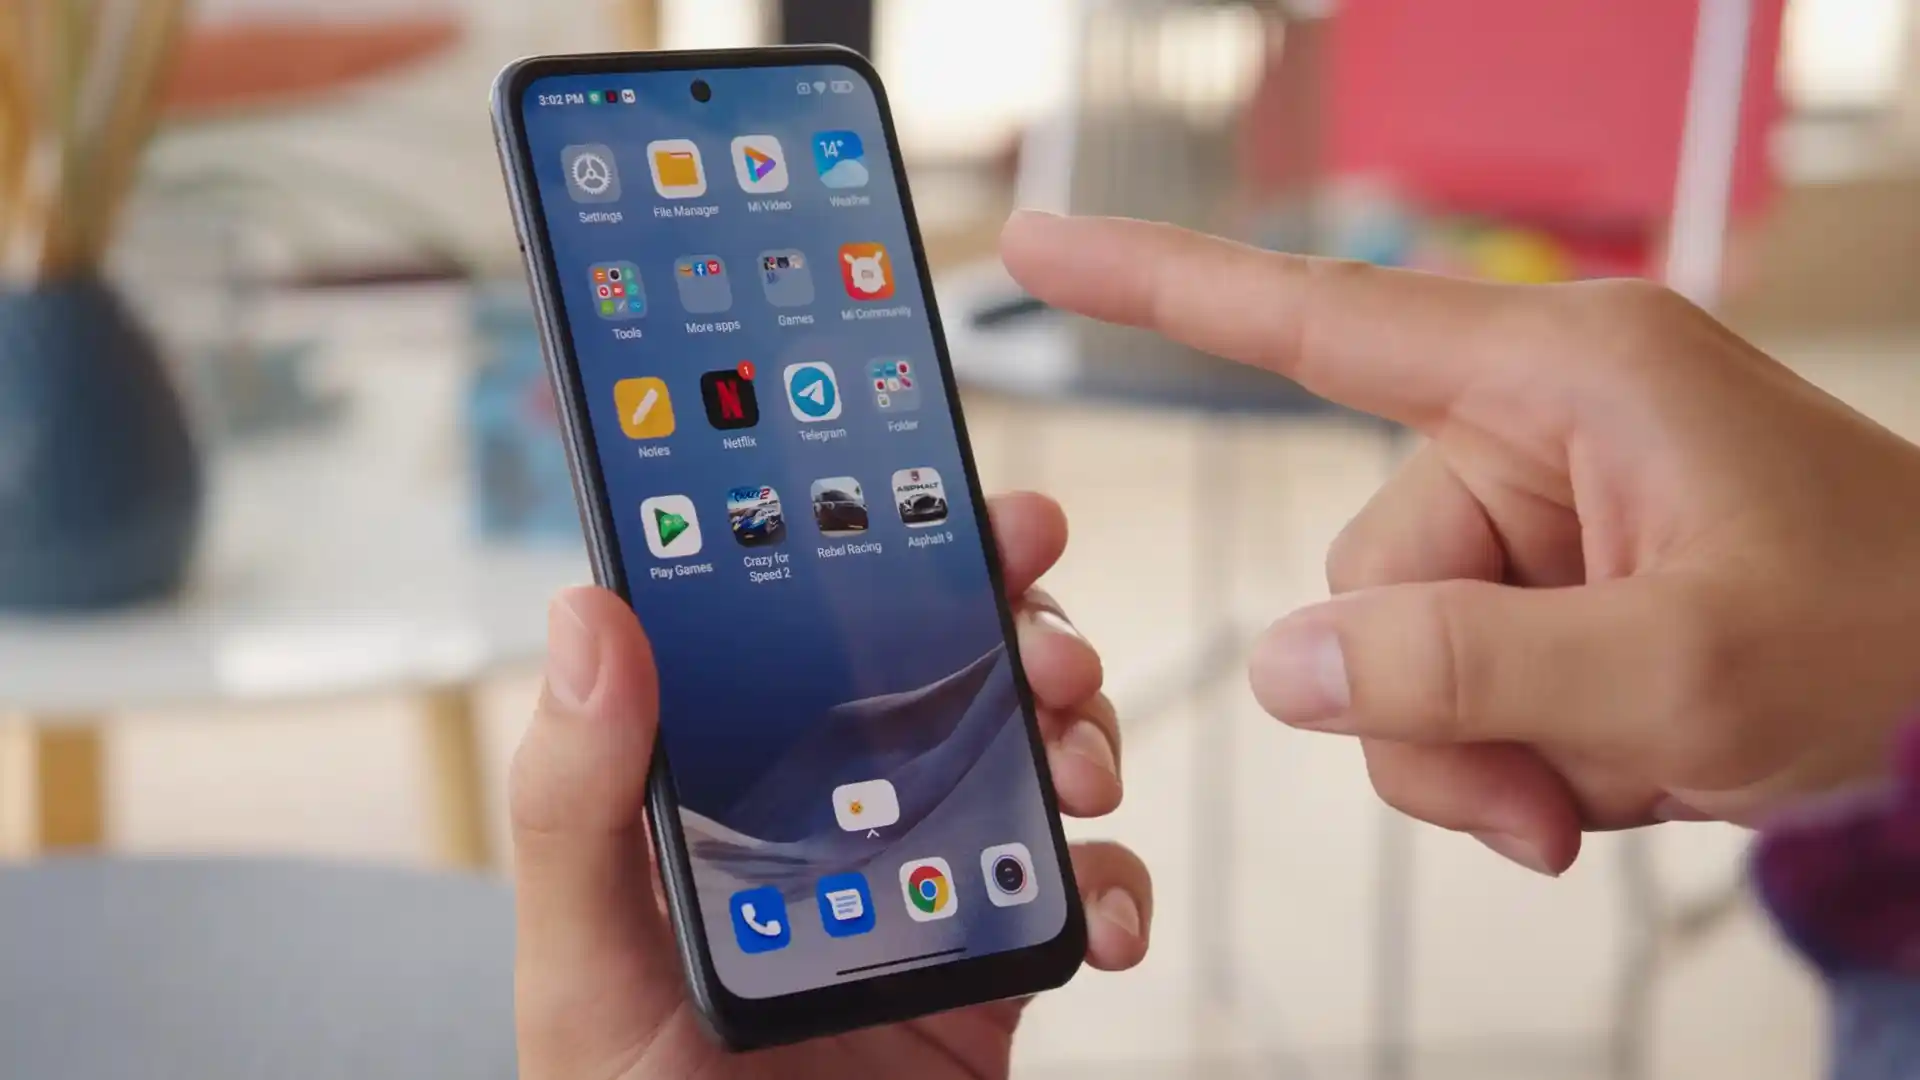
The Xiaomi Redmi Note 10 was released in March 2021 on the Qualcomm Snapdragon 678 SM6150-AC (11nm LPP, 64-bit Octa-core: 2x 2.2 GHz Kryo 460 Gold + 6x 1.7 GHz Kryo 460 Silver) platform. Featuring a 6.43-inch Super AMOLED DotDisplay, dual stereo speakers, and a 5000 mAh battery with 33W fast charging, the device became one of Xiaomi's most popular mid-range smartphones worldwide.
Flashing official factory Fastboot firmware using Xiaomi Mi Flash Tool repairs corrupted dynamic partitions, fixes persistent bootloops, and restores official MIUI stability. Follow the verified steps below to flash your device safely.
Which Flash Mode Should You Use?
Fastboot Mode (Bootloader Flashing)
Official flashing interface for bootloader-unlocked handsets. Writes partition blocks via Mi Flash Tool or flash_all.bat scripts.
Custom Recovery Mode (OrangeFox / TWRP / PBRP)
Interface for flashing community custom ROMs (such as Xiaomi.eu), ZIP mods, or performing partition-level storage wipes.
Stock Recovery / Local Update
Official on-device recovery method for installing signed regional MIUI update packages without a PC.
Qualcomm HS-USB QDLoader 9008 (EDL Mode)
Emergency download mode accessed via motherboard test points. Requires authorized Xiaomi service credentials on Snapdragon 678.
Essential Equipment & Mi Flash Requirements
A PC running 64-bit Windows with Xiaomi Mi Flash Tool and official Qualcomm USB drivers installed.
Download and unpack the official mojito Fastboot archive twice with 7-Zip until flash_all.bat is visible.
Ensure the 5000 mAh battery holds at least 50% charge to ensure stable power delivery throughout the flashing process.
Connect an authentic USB Type-C data cable directly into a rear USB 2.0 port on the computer motherboard.
In Mi Flash Tool, select "clean all" at the bottom right. Never select "clean all and lock" on modified devices.
5-Step Mi Flash Walkthrough for Redmi Note 10
A condensed step-by-step summary specific to the Xiaomi Redmi Note 10. Follow the full Mi Flash Tool guide for screenshots, an interactive progress checklist, and complete troubleshooting.
-
Extract mojito_global_images_V14.0.8.0.SKGMIXM TGZ archive twice using 7-Zip
-
Power off handset and hold Volume Down + Power until orange FASTBOOT logo appears
-
Connect via native rear motherboard USB 2.0 port to prevent Snapdragon 678 packet drops
-
Load extracted firmware root directory and tick "clean all" (flash_all.bat) in Mi Flash Tool
-
Click Flash and verify boot ramdisk recovery slot initialization during 5 to 10 minute boot
Fastboot Rawprogram XML & Firmware Package for SM6150
Official Fastboot firmware packages for the Xiaomi Redmi Note 10 (mojito / sunny) utilize rawprogram0.xml and patch0.xml partition layouts executed through flash_all.bat. When loaded into Xiaomi Mi Flash Tool, these scripts write boot, dtbo, super, cust, and modem partition images directly to the Snapdragon 678 UFS 2.2 storage controller.
rawprogram0.xml
Official factory Fastboot firmware for the Xiaomi Redmi Note 10 utilizes rawprogram0.xml and patch0.xml executed through flash_all.bat. In Mi Flash Tool, select the root extracted folder containing these scripts.
The Redmi Note 10 (hardware codenames mojito and sunny) shares the Qualcomm Snapdragon 678 platform with 4GB or 6GB LPDDR4X RAM, UFS 2.2 storage, and a 5000 mAh battery supporting 33W charging.
Always verify whether your device is international mojito (M2101K7AG with NFC) or Indian mojito (M2101K7AI without NFC) before flashing.
Xiaomi Redmi Note 10 Firmware Versions
Tested stock firmware packages for confirmed hardware variants of the Xiaomi Redmi Note 10. Always confirm your model codename (mojito vs sunny) before flashing.
| Version | Region | Android Version | Size | MD5 | Download |
|---|---|---|---|---|---|
V14.0.8.0.SKGMIXM (20231018) |
Global Stable (MIXM) | Android 12.0 (MIUI 14) | 4.7 GB | a7349c8657ddac027284418bf18dd893 |
⬇️ Download |
V14.0.6.0.SKGEUXM (20231026) |
EEA / Europe Stable (EUXM) | Android 12.0 (MIUI 14) | 4.7 GB | aee2785febe47d072fdbf9279010ef24 |
⬇️ Download |
V14.0.8.0.SKGMIXM (v14-12) |
Xiaomi.eu Multilingual (Recovery) | Android 12.0 (MIUI 14) | 3.7 GB | ace62f9062701c035416610265aa2705 |
⬇️ Download |
OrangeFox R11.3 Unofficial (20250709) |
Community / OrangeFox Recovery | Android 12 / 13 | 50.1 MB | 20d199cd0fdafc825fd8c232abf743b4 |
⬇️ Download |
TWRP 3.7.1_12-0 Official (20240302) |
Official TeamWin Recovery | Android 12 | 128.0 MB | 38f56645f97f0d2e2d0d8f32f7b5dab5 |
⬇️ Download |
This device family includes 19 verified packages across EEA, Global, India, Indonesia, Russia, Turkey, Xiaomi.eu, TWRP, OrangeFox, and PBRP releases. Browse the complete 19-package archive on AndroidFirmwareFile.com →
Snapdragon 678 Dynamic Partition Layout & Hardware Notes
Flashing official Fastboot firmware through Xiaomi Mi Flash Tool unbricks handsets stuck in bootloops, resolves software glitches after system updates, and restores the factory MIUI 14 operating system.
Because the Qualcomm Snapdragon 678 architecture requires authorized Xiaomi service credentials for emergency download (EDL 9008) recovery, keeping your bootloader officially unlocked and preserving Fastboot access is your primary repair path.
Troubleshooting Redmi Note 10 Flashing & Mi Flash Errors
FAILED (remote: 'Partition table doesn't exist' or 'No such partition recovery')
This error occurs when attempting to execute fastboot flash recovery recovery.img on mojito. Because the Redmi Note 10 uses a Virtual A/B architecture without a dedicated physical recovery partition, recovery code resides inside the boot ramdisk. Use fastboot boot recovery.img to boot custom recovery temporarily, then install a recovery ZIP to patch both boot slots.
fastboot: error: Cannot generate image for super: failed to write partition
Occurs during the transfer of the 4GB+ super.img dynamic partition when using older Android platform-tools binaries or connecting through third-party USB 3.0 controllers. Updating platform-tools to the latest release and connecting directly to a native rear USB 2.0 motherboard port resolves the transfer timeout.
dm-verity corruption: Your device is corrupt and cannot be trusted and will not boot
Triggered after modifying the boot partition ramdisk or flashing third-party kernels without disabling Android Verified Boot 2.0. Flashing the stock vbmeta image with verification disabled via fastboot --disable-verity --disable-verification flash vbmeta vbmeta.img clears the integrity flag and allows the kernel to boot.
For in-depth Xiaomi Fastboot error codes, EDL testpoint pinouts, and driver troubleshooting: Mi Flash Tool Error Directory →
Workshop Flashing & Troubleshooting FAQ
Because the Redmi Note 10 utilizes a Virtual A/B dual-slot partition architecture, an incomplete flash or mismatched ramdisk can leave the bootloader attempting to boot an unbootable slot. You can inspect the current slot by running fastboot getvar current-slot in terminal. If slot _a is corrupted, execute fastboot --set-active=b (or vice versa) and run fastboot reboot to fall back to the operational slot.
Always select the "clean all" radio button located in the bottom-right corner of the Mi Flash Tool interface, which executes flash_all.bat. Selecting "clean all and lock" triggers flash_all_lock.bat, which re-locks the bootloader after partition writing. If you flash cross-region firmware or modified boot images with a re-locked bootloader, the phone will fail Android Verified Boot checks and enter a bootloop.
If the handset is trapped in a reboot loop, disconnect the USB cable and hold down Power and Volume Down simultaneously for 10 to 12 seconds until the screen goes blank, keeping both keys held until the orange FASTBOOT text appears. If the battery is completely flat, leave the phone on a 33W wall charger for 20 minutes before repeating the button sequence.
Ready to Flash?
Follow the full step-by-step Mi Flash Tool guide with interactive progress tracking, prerequisite checklist, and complete troubleshooting.