Android Flash Tool Guide – Flash Your Google Pixel via Browser
Browser-based guide to flashing Google Pixel firmware using Android Flash Tool at flash.android.com — no terminal, no drivers, just Chrome or Edge and a USB cable.
Pre-Flight Checklist
Complete ALL items before proceeding. Skipping any step increases the risk of bricking your device.
-
Google Pixel device (Android Flash Tool only supports Pixel)Android Flash Tool is exclusively for Google Pixel phones. It does not support other Android devices.
-
Backup all Pixel data to Google AccountFlashing via Android Flash Tool will wipe the device. Enable backup under Settings → System → Backup and ensure Google One backup is complete.
-
USB debugging enabled on the Pixel deviceGo to Settings → About Phone, tap Build Number 7 times to unlock Developer Options, then enable USB Debugging under Settings → System → Developer Options.
-
OEM Unlocking enabledUnder Settings → System → Developer Options, enable OEM Unlocking. This is required for fastboot to unlock the bootloader.
-
Google Chrome or Microsoft Edge browser (WebUSB required)Android Flash Tool uses WebUSB API. Only Chrome and Edge support it. Firefox, Safari, and most other browsers do not work.
-
Google USB Drivers installed (Windows only)Download and install Google USB Drivers from the Android Developer site. On Linux/macOS, drivers are handled automatically.
-
Quality USB-C cable that supports data transferUse the cable that came with your Pixel. Cheap USB cables often cause connection failures.
Guide Steps
Open Google Chrome or Microsoft Edge and navigate to:
The site loads the Android Flash Tool interface. You may be asked to sign in with a Google account to access full builds.
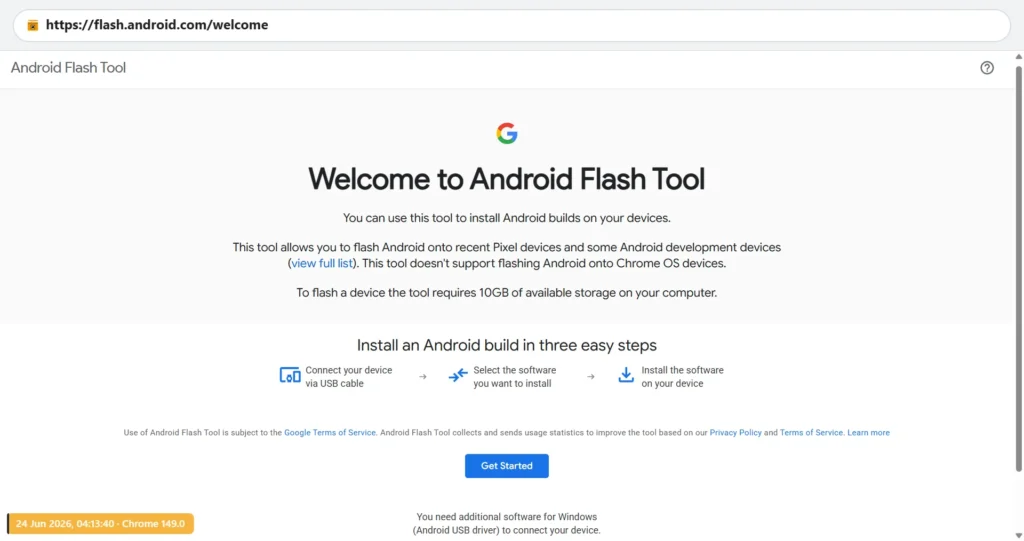
On the Android Flash Tool homepage:
- Click Get started.
- Select your Pixel model from the device list.
- Select the firmware build — you can choose from:
- Stable — Latest stable Android release for your Pixel.
- Beta — Android Beta Program builds (for testing).
- Developer Preview — Early developer previews (highly unstable).
Before connecting the device, Android Flash Tool shows flash configuration options:
- Wipe device — Erases all user data. Recommended for clean installs and troubleshooting.
- Lock bootloader after flashing — Re-locks the bootloader after flash (good for restoring to fully stock state).
- Force flash — Flashes even if the detected build is newer than what you're installing (needed for downgrades).
Power off your Pixel. Hold Volume Down + Power simultaneously until you see the fastboot/bootloader screen with the Android mascot.
Connect the Pixel to your PC via USB-C. In Android Flash Tool, click Connect device.
Your browser shows a WebUSB device permission dialog. Select your Pixel device and click Connect.
If your Pixel's bootloader is locked, Android Flash Tool prompts you to unlock it. The tool sends the unlock command and your Pixel shows a warning screen:
"Unlock bootloader? Press Volume Up to unlock (data will be wiped). Press Volume Down to keep locked."
Press Volume Up to confirm the unlock. The device wipes and reboots to the bootloader screen.
Click Install build in Android Flash Tool. The tool:
- Downloads the selected firmware build (this may take several minutes on slow connections).
- Validates the package checksum.
- Flashes each partition to the Pixel.
Progress is shown in the browser. Total time is typically 5–20 minutes including download.
Android Flash Tool reboots the Pixel automatically when flashing is complete. First boot may take several minutes.
Complete the Android setup wizard and restore your data from the Google Account backup.
Congratulations! Flash Successful!
You've successfully completed all steps. Your device should now be running the new firmware. If it's booting normally — you're done! Check the troubleshooting section below if you encounter any issues.
Troubleshooting & FAQ
Common errors and their solutions. Read this before asking for help.
Common fixes: use Chrome or Edge (not Firefox/Safari), confirm the Pixel is in fastboot/bootloader mode (not just USB debugging), try a different USB-C cable and port, and install Google USB Drivers on Windows. On Linux, you may need to run Chrome with elevated permissions or add udev rules.
Yes — Android Flash Tool shows all available builds including Beta and Developer Preview. Select the desired channel before connecting the device. Note that downgrading from Beta to Stable requires "Force flash" to be enabled.
No — Android Flash Tool downloads the firmware directly from Google servers during the process. You need a stable internet connection throughout. If your connection is unstable, use the manual fastboot flash method instead (download factory images from developers.google.com/android/images).
Only if you enabled the "Lock bootloader after flashing" option before starting. If you plan to sideload custom ROMs or use root in the future, leave bootloader unlocked.
Android Flash Tool is simpler — no command line, drivers auto-handled on most systems, and you pick a build from a UI. Manual fastboot gives more control: you can flash specific partitions, downgrade more reliably, and work offline. For most users, Android Flash Tool is the easier and equally safe choice.
Reference screenshots for this guide. Click any image to view full size.
Prioritize our guides in your Google search results.
No comments yet. Be the first to share your experience with this guide!