

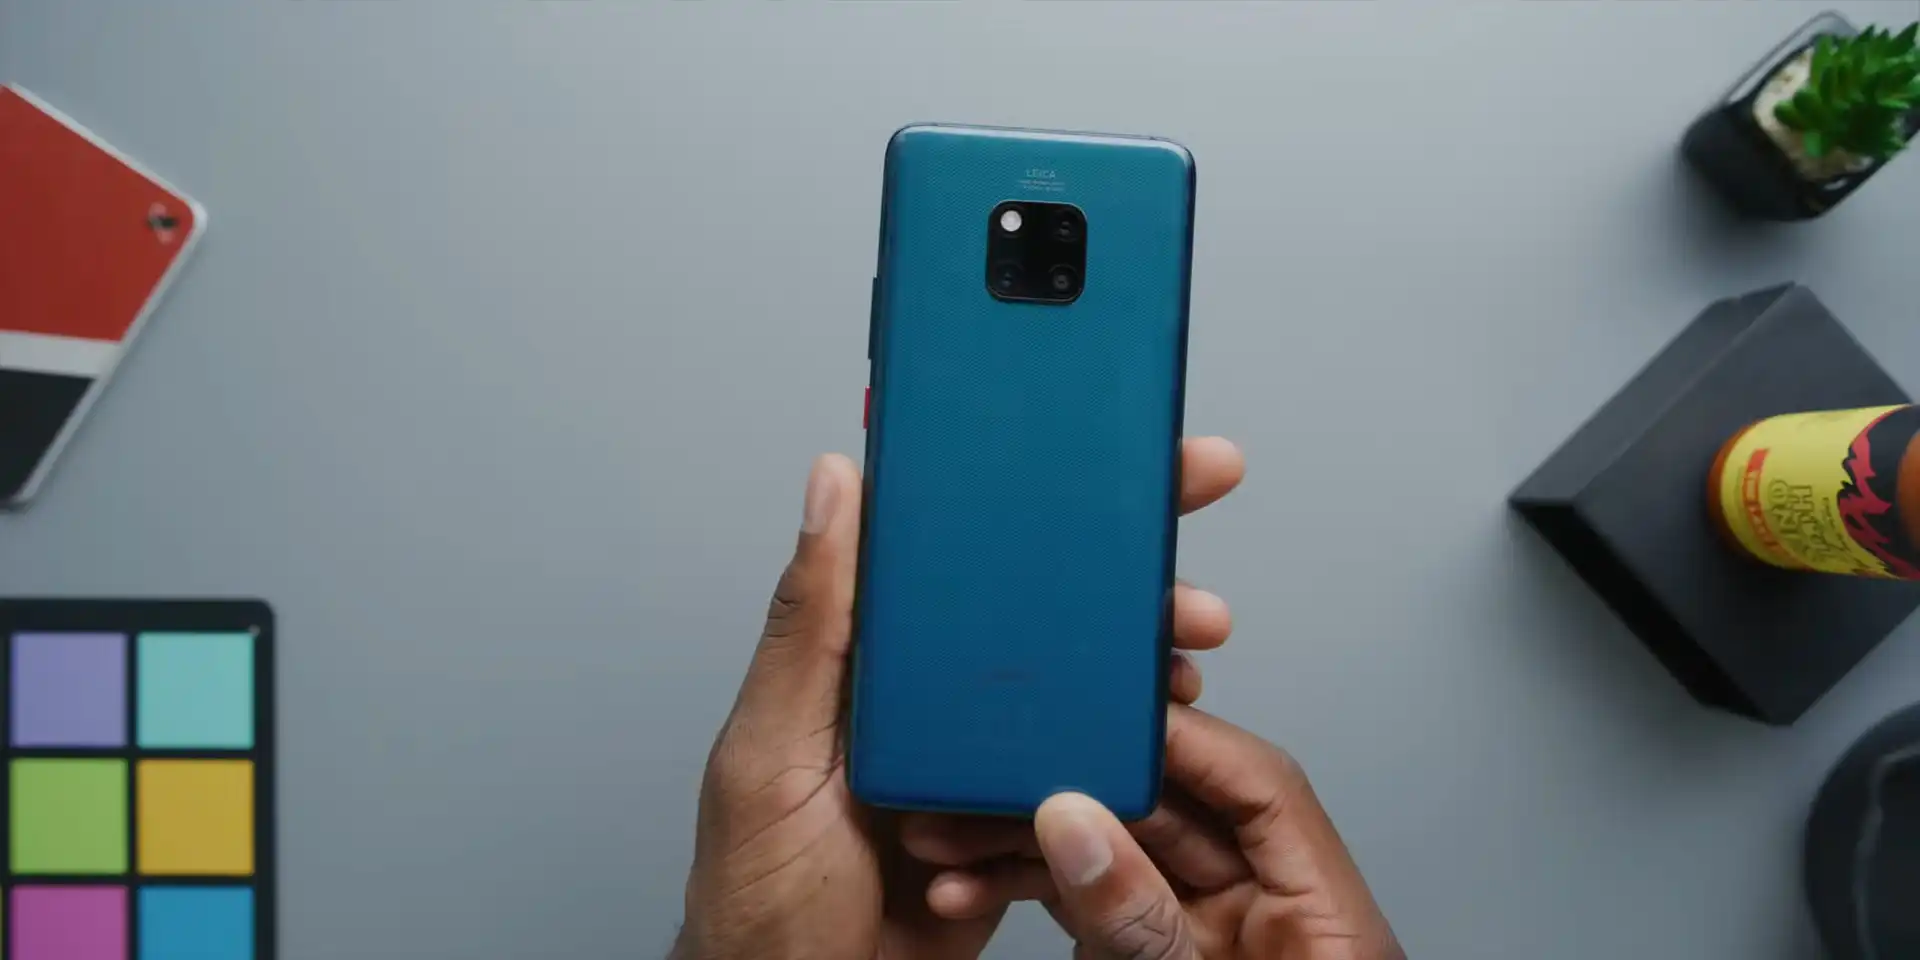
Before you flash: Flashing firmware will erase all data on your device. Back up contacts, photos, and apps before proceeding. FlashGuideHub is not responsible for any damage caused by following this guide.
About the Huawei Mate 20 Pro
The Huawei Mate 20 Pro was released in October 2018, built on the HiSilicon Kirin 980 (7nm, Dual NPU) platform. Marketed under model series LYA-L29, LYA-L09, LYA-AL00, LYA-AL10, LYA-TL00, and Porsche Design LYA-L29CP (internal codename Laya), the device features a 6.39-inch curved OLED QHD+ display, up to 8 GB of RAM, and a Leica triple-camera array.
Flashing factory stock firmware cures persistent software errors, repairs corrupted partition tables, and unbricks non-booting devices. Follow the verified file details and step-by-step instructions below to service your phone safely.
Which Flash Mode Should You Use?
Huawei Dload via NM Card or USB Type-C OTG (Recommended)
Standard factory update method using the 3-button hardware combination with UPDATE.APP on an NM Card or USB Type-C OTG flash drive.
Huawei eRecovery Wi-Fi Restore
Official network recovery method built into EMUI to download and restore matched firmware directly over Wi-Fi.
What You Need Before Flashing
Confirm your exact model is LYA-L29, LYA-L09, LYA-AL00, LYA-AL10, LYA-TL00, or LYA-L29CP.
A memory card or USB drive formatted as FAT32 with a "dload" folder on the root directory.
Firmware writing takes several minutes; maintain adequate battery reserve.
Use a quality OTG adapter or cable if connecting an external USB flash drive.
Full stock firmware updates erase internal storage; back up files if phone boots.
How to Flash the Huawei Mate 20 Pro — Quick Overview
A quick 5-step overview built specifically for the Huawei Mate 20 Pro. The full Huawei UPDATE.APP guide adds screenshots, progress tracking, and fixes for common errors.
-
Format NM Card or USB Type-C drive as FAT32
-
Create "dload" folder and copy UPDATE.APP
-
Connect storage media to handset
-
Initiate 3-button installation combo
-
Wait for partition flashing to reach 100%
Firmware Package for Kirin 980 (UPDATE.APP)
Official firmware packages for the Huawei Mate 20 Pro are distributed as signed UPDATE.APP container archives. These packages contain partition images for system, vendor, kernel, modem, and cust partitions specifically compiled for the HiSilicon Kirin 980 architecture.
UPDATE.APP
Official Huawei Mate 20 Pro firmware is distributed as UPDATE.APP packages. Extract the downloaded zip file and copy UPDATE.APP directly inside the "dload" folder on your NM card or USB Type-C flash drive.
Crucial Hardware Notice: The Mate 20 Pro does not support standard microSD cards. You must use either a genuine Huawei Nano Memory (NM Card) or a standard USB flash drive connected through a USB Type-C OTG adapter. The storage volume must be formatted strictly in FAT32 with an MBR partition scheme, and the UPDATE.APP file must reside inside a directory named "dload" in all lowercase letters.
Huawei Mate 20 Pro Firmware Versions
Official stock firmware packages for the Huawei Mate 20 Pro. Verify your exact model number and regional branch before downloading.
| Version | Region | Android Version | Size | MD5 | Download |
|---|---|---|---|---|---|
10.1.0.319(C432E8R1P5) |
Europe Open (LYA-L29) | Android 10 (EMUI 10.1.0) | 4.50 GB | f9665584c2550c83068d1eeb1d42c6d2 |
⬇️ Download |
9.1.0.300(C45E15R1P19) |
Europe / Vodafone (LYA-L09) | Android 9.0 (EMUI 9.1.0) | 4.02 GB | — | ⬇️ Download |
10.1.0.165(C00E165R3P8) |
China All-Netcom (LYA-AL00) | Android 10 (EMUI 10.1.0) | 4.97 GB | — | ⬇️ Download |
10.1.0.320(C721E12R1P5) |
Porsche Design (LYA-L29CP / RS) | Android 10 (EMUI 10.1.0) | 4.65 GB | 1a86dc8a9ef10173fa3999761662255b |
⬇️ Download |
10.1.0.163(C01E159R2P8) |
China Mobile (LYA-TL00) | Android 10 (EMUI 10.1.0) | 5.20 GB | — | ⬇️ Download |
This phone family has 6 additional regional builds, carrier packages, and maintenance updates. Browse the complete archive on AndroidFirmwareFile.com →
Huawei Mate 20 Pro — Important Notes
The Huawei Mate 20 Pro is equipped with a 4200 mAh battery. Installing full stock firmware takes 5 to 10 minutes. Ensure the device has at least 50% charge before beginning the update to prevent power interruption during system writing.
Troubleshooting Huawei Mate 20 Pro Flashing & EMUI Rollback Issues
EMUI Recovery Abort at 5% (Rollback / Anti-Rollback Block)
Users attempting to downgrade from EMUI 10.1 or EMUI 12 back to early EMUI 9.1 releases report immediate verification failure at 5%. The Kirin 980 bootloader enforces security patch level anti-rollback indexes that reject older boot images via Dload. Community repair discussions recommend restoring stability using a matching major EMUI 10.x build or executing rollback through authorized HiSuite system recovery rather than direct SD card flashing.
Storage Device Not Recognized / Boots Normally into Android
If holding the 3-button combination bypasses the update sequence and boots normally into Android, technicians suggest inspecting your storage medium. Because the Mate 20 Pro uses proprietary Nano Memory cards rather than microSD, users using USB Type-C OTG drives often encounter detection failures if formatted as exFAT or NTFS. Reformatting a drive 32GB or smaller to FAT32 with an MBR partition scheme (32KB clusters) is suggested.
Optical Fingerprint Sensor Non-Responsive / Enrollment Failure After Flashing
Following a full stock partition rewrite, community members occasionally report that the Goodix in-display optical fingerprint scanner fails to register fingers or displays calibration errors. Technicians suggest booting into eRecovery (Volume Up + Power while connected to a power source), selecting "Wipe cache partition", and performing a complete initial device setup before re-attempting biometric enrollment.
For solving common EMUI "Software install failed" messages and recovery verification issues: Huawei & EMUI Flashing Error Directory →
Frequently Asked Questions — Huawei Mate 20 Pro
No. The Mate 20 Pro utilizes Huawei's proprietary Nano Memory (NM Card) form factor and lacks a microSD slot. If an NM card is unavailable, use a standard USB flash drive formatted as FAT32 and connect it using a USB Type-C OTG adapter.
This indicates that the downloaded package does not match your device model or regional branch code (for example, attempting to install C00 Chinese firmware on a European C432 handset), or that an older package was blocked by Kirin 980 anti-rollback flags.
Yes. Full stock firmware packages installed through the 3-button Dload method perform complete formatting of internal storage partitions to ensure a pristine factory state.
Yes. The Mate 20 Pro launched before trade restrictions and possesses permanent Google Mobile Services certification. European C432 and C431 packages restore full Google Play Store and Google Wallet support.
Ready to Flash?
Follow the full step-by-step Huawei UPDATE.APP guide with interactive progress tracking, prerequisite checklist, and complete troubleshooting.