

Before you flash: Flashing firmware will erase all data on your device. Back up contacts, photos, and apps before proceeding. FlashGuideHub is not responsible for any damage caused by following this guide.
About the Redmi Note 11 Pro+ 5G
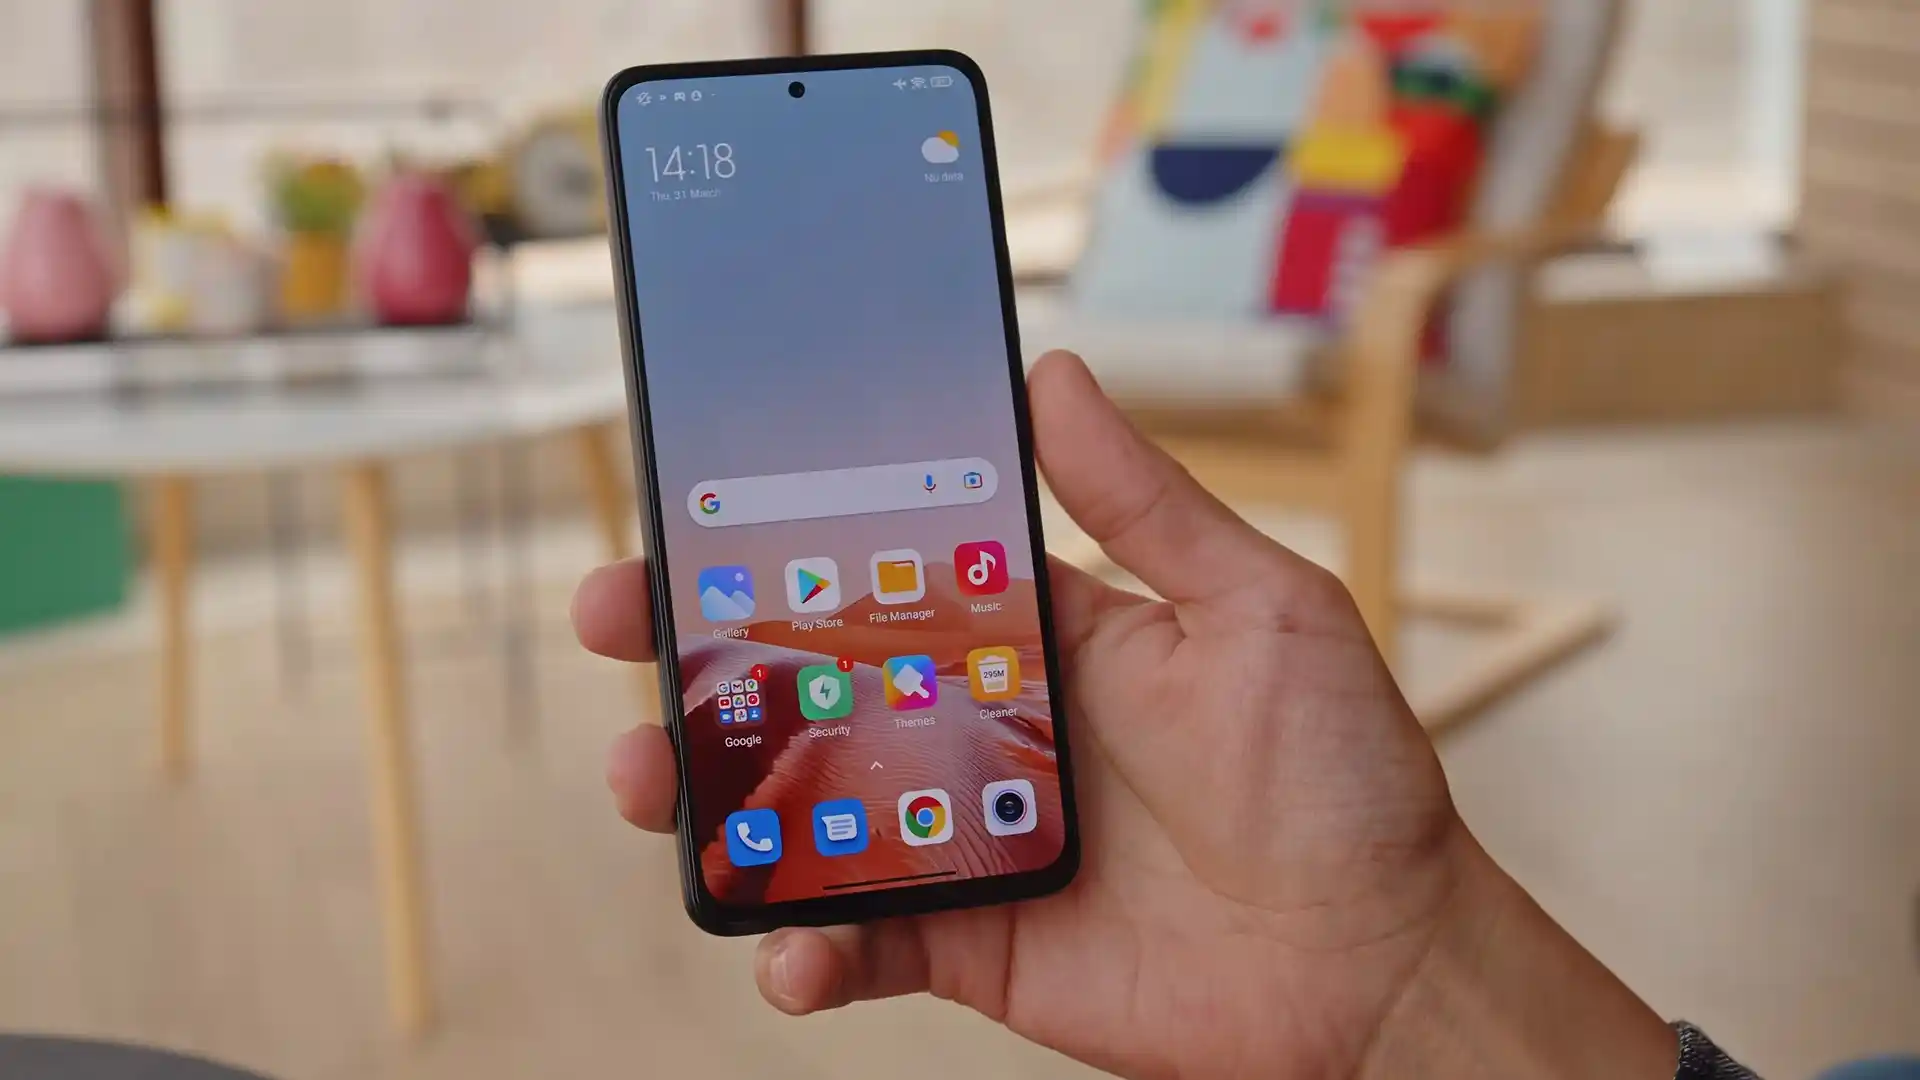
The Redmi Note 11 Pro+ 5G, launched in 2021, October / 2022, March, is built on the MediaTek MT6877V/ZA Dimensity 920 5G (6nm) platform with an Arm Mali-G68 MC4 GPU, a 6.67-inch 120Hz FHD+ AMOLED display, and dual JBL stereo speakers. It supports rapid charging up to 120W HyperCharge on its 4500 mAh dual-cell battery.
This workshop manual provides step-by-step restoration instructions for the Redmi Note 11 Pro+ 5G (hardware codename pissarro) using official Xiaomi Mi Flash Tool and Fastboot CLI utilities, covering full unbricking, stock HyperOS installation, and boot partition recovery deployment.
Which Flash Mode Should You Use?
Fastboot Mode (Mi Flash / CLI)
The standard official interface for full factory image restoration, flashing super.img, and updating HyperOS.
Custom Recovery (Boot Partition Target)
For installing OrangeFox or TWRP. Since pissarro has no dedicated recovery partition, flash directly to the boot partition.
MediaTek BROM Mode (SP Flash Tool)
Low-level hardware recovery mode triggered when the bootloader is corrupt or the device is hard bricked.
Essential Hardware Prerequisites for Redmi Note 11 Pro+ 5G
An officially unlocked bootloader via the official Xiaomi Mi Unlock tool is strictly required to flash Fastboot TGZ images.
Ensure your battery holds at least 50% charge to prevent abrupt power loss while writing large dynamic super partition blocks.
Connect directly to a motherboard rear USB 2.0 port to prevent sparse chunk transmission timeouts during fastboot writes.
Use an official high-speed USB Type-C data cable with verified data lines to maintain connection integrity during flashing.
Executing flash_all.bat formats internal UFS 2.2 storage; back up all essential documents and media beforehand.
5-Step Fastboot Flashing Walkthrough for pissarro
These 5 steps are tailored to the Redmi Note 11 Pro+ 5G (Dimensity 920 5G). For screenshots, an interactive checklist, and troubleshooting, open the full Mi Flash Tool guide.
-
Unlock bootloader officially via authorized Mi Account and Mi Unlock utility
-
Extract package pissarro_eea_global_images_OS1.0.14.0.TKTEUXM_20250401.0000.00_13.0_eea_cad8884233.tgz twice with 7-Zip
-
Reboot Dimensity 920 phone into Fastboot mode and verify handshake using fastboot getvar product
-
Check anti-rollback protection state by querying fastboot getvar anti in terminal
-
Launch Mi Flash Tool, select clean all (flash_all.bat), and execute flashing
Xiaomi HyperOS Fastboot Archive & Partition Map for pissarro
The Redmi Note 11 Pro+ 5G utilizes an A-only partition layout with Android Retrofit Dynamic Partitions. The primary restoration script flash_all.bat unpacks logical blocks for system, vendor, and product partitions directly into the physical super partition.
flash_all.bat
Official Fastboot images for the Dimensity 920 platform utilize flash_all.bat to write raw bootloader and dynamic super partitions directly via the Fastboot protocol.
Always verify your device codename is pissarro using "fastboot getvar product" prior to initiating any flashing procedure on the Redmi Note 11 Pro+ 5G.
Tested Factory Fastboot ROM Packages for Redmi Note 11 Pro+ 5G
Here are verified factory Fastboot packages tested for clean unbricking and restoration on the Redmi Note 11 Pro+ 5G.
| Version | Region | Android Version | Size | MD5 | Download |
|---|---|---|---|---|---|
OS1.0.14.0.TKTEUXM |
EEA (Europe) | Android 13.0 (Xiaomi HyperOS 1.0) | 5.9 GB | cad888423394160458eed07f26e61bad |
⬇️ Download |
OS1.0.17.0.TKTMIXM |
Global | Android 13.0 (Xiaomi HyperOS 1.0) | 6.0 GB | fbf41cd5ffaa41979c76d73dae31c7c1 |
⬇️ Download |
OS1.0.24.0.TKTCNXM |
China | Android 13.0 (Xiaomi HyperOS 1.0) | 6.0 GB | f92004a27b49e489d74cbbc924365905 |
⬇️ Download |
OS1.0.10.0.TKTINXM |
India (Xiaomi 11i) | Android 13.0 (Xiaomi HyperOS 1.0) | 5.4 GB | 0eb2904056bac467aa6848e1fcab52b4 |
⬇️ Download |
Looking for additional regional builds, OTA recovery packages, or custom recovery images? View full Redmi Note 11 Pro+ 5G firmware archive on AndroidFirmwareFile
Platform Architecture & Partition Notes
Flashing the Redmi Note 11 Pro+ 5G requires careful handling of partition targets and regional bootloader locks. When flashing package pissarro_eea_global_images_OS1.0.14.0.TKTEUXM_20250401.0000.00_13.0_eea_cad8884233.tgz or equivalent global builds, ensure Mi Flash Tool is configured to execute flash_all.bat (Clean All).
Preserving Boot Partition & Recovery Integrity
Unlike earlier generation smartphones, the pissarro board does not have a separate /recovery partition. When installing custom recoveries such as OrangeFox, flash the image directly into the boot partition using fastboot flash boot recovery.img. Immediately enter recovery using the physical button combination (Volume Up + Power) before allowing the phone to boot into Android system.
Troubleshooting Dimensity 920 Fastboot & Partition Errors
FAILED (remote: 'Partition recovery not support flash')
The pissarro platform utilizes an A-only partition layout with Retrofit Dynamic Partitions where the recovery ramdisk is housed directly inside boot.img rather than a physical /recovery partition. Custom recoveries must be flashed directly to the boot partition using "fastboot flash boot <recovery_filename>.img".
FAILED (remote: 'Anti-rollback check error')
Occurs when attempting to flash older MIUI 12.5 or 13 packages with a lower rollback counter over an existing HyperOS 1.0 installation. Verify your current rollback index by running "fastboot getvar anti". If your installed index is higher than the package, abort the flash to prevent permanent hardware execution lockout.
error: cannot load 'pissarro_eea_global_images...': No such file or directory
Mi Flash Tool fails to parse folder paths containing spaces, special characters, or long nested directory paths. Move and extract the .tgz archive directly to a short root directory such as C:\pissarro_fw before selecting the folder in Mi Flash Tool.
Solutions for common Fastboot and partition flash errors on pissarro. Error Directory →
Workshop Flashing Mechanics & Unbricking FAQ
Because the pissarro board embeds recovery inside the boot partition rather than a dedicated /recovery partition, flashing custom recovery requires disabling Android Verified Boot 2.0 verification using stock vbmeta: "fastboot --disable-verity --disable-verification flash vbmeta vbmeta.img". Immediately after flashing the recovery image to boot ("fastboot flash boot recovery.img"), press and hold Volume Up and Power to reboot directly into recovery before the system partition can restore the stock recovery ramdisk.
MediaTek Dimensity 920 Fastboot flashing writes the retrofitted dynamic super.img partition across multiple large sparse blocks. If the transfer stalls or encounters USB buffer timeouts, ensure you connect using a native USB 2.0 port directly on your PC motherboard rear panel rather than front ports or hubs. Furthermore, keep Google Platform Tools updated to the latest revision to ensure reliable USB buffer negotiation.
If a critical flashing interruption forces the MT6877 chipset into Emergency Download (BROM) mode (detected as MediaTek USB Port in Windows Device Manager), standard SP Flash Tool flashing is blocked by Xiaomi cryptographic SLA/DA authentication. Users must utilize verified MTK bypass utilities or seek authorized Xiaomi service channels to authorize the BROM handshake.
Ready to Flash?
Follow the full step-by-step Mi Flash Tool guide with interactive progress tracking, prerequisite checklist, and complete troubleshooting.