

Before you flash: Flashing firmware will erase all data on your device. Back up contacts, photos, and apps before proceeding. FlashGuideHub is not responsible for any damage caused by following this guide.
About the Huawei Nova 4
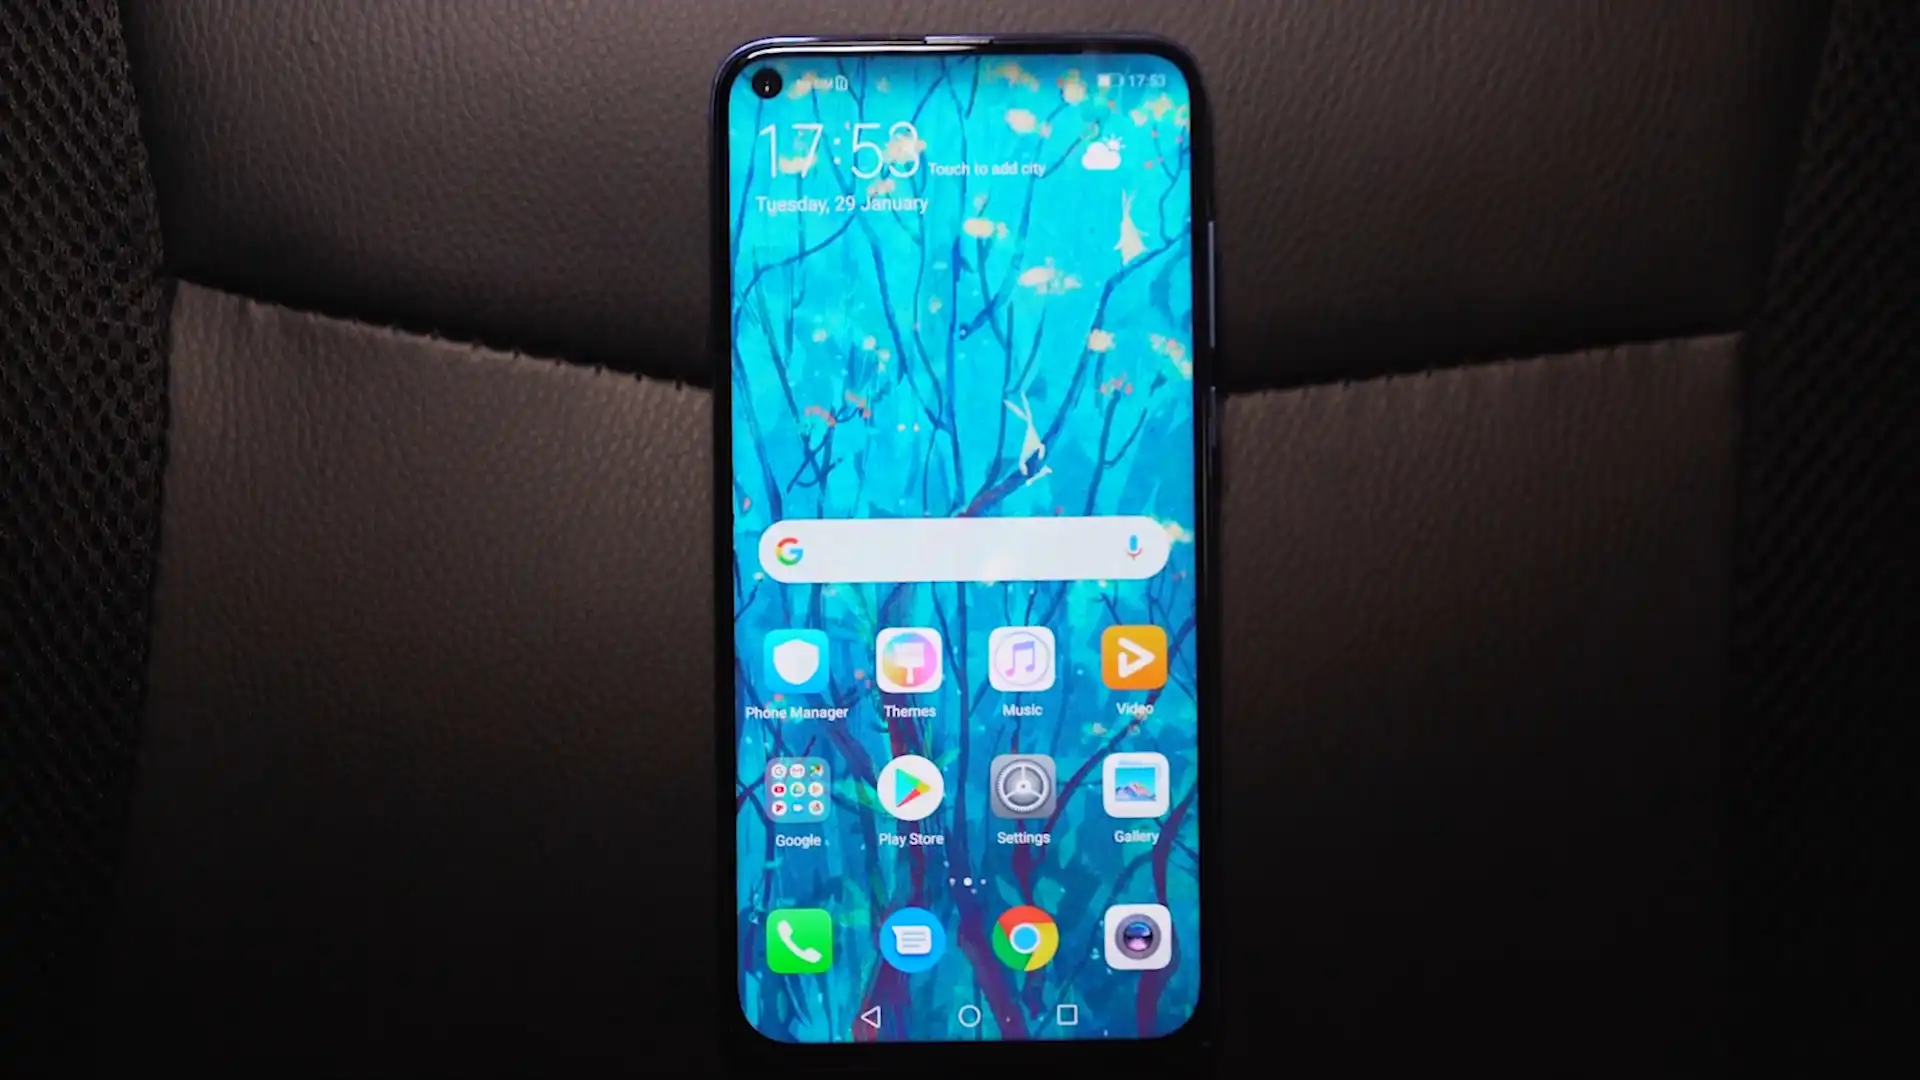
The Huawei Nova 4 was released in December 2018, built on the HiSilicon Kirin 970 (10nm, Dedicated NPU) platform. Featuring a 6.4-inch punch-hole FHD+ display, a 3750 mAh battery, and 18W fast charging, the Venice family encompasses international (VCE-L22) and domestic Chinese (VCE-AL00, Venice-AL00B, VCE-TL00) editions.
Flashing factory stock firmware via Huawei Dload over USB Type-C OTG cures boot loops, recovers corrupted system partitions, and restores factory software integrity. Follow the verified media preparation steps and procedural guide below to flash your device safely.
Which Flash Mode Should You Use?
Huawei Dload 3-Button Mode (USB Type-C OTG)
Primary stock flashing method. Reads UPDATE.APP from a FAT32-formatted USB Type-C OTG flash drive to write official partitions. Does not require bootloader unlock.
Huawei eRecovery Mode (Emergency Wi-Fi Restore)
Over-the-air emergency recovery tool built into the stock bootloader. Connects to Wi-Fi to download and install official recovery software.
Factory Test Point (HiSilicon USB COM 1.0)
Low-level hardware unbrick procedure for dead devices with no screen display. Used with Huawei Board Software packages and IDT to restore boot partitions.
What You Need Before Flashing
An 8 GB or larger USB Type-C flash drive (or USB-A drive with OTG adapter) formatted as FAT32 with an MBR partition layout. The Nova 4 has no card slot.
Download the package matching your exact model number, camera revision, and regional Cust tag (such as VCE-L22 C636 Global). Check Settings or eRecovery before downloading.
Ensure the internal 3750mAh battery holds at least 50% charge to power the external USB OTG flash drive and prevent power failure during flashing.
Use a high-quality USB Type-C OTG adapter. Unshielded or faulty adapters will cause data dropouts during partition verification.
Flashing stock firmware via Dload completely formats the internal userdata partition. Back up personal files before proceeding.
How to Flash the Huawei Nova 4 — Quick Overview
A condensed step-by-step summary specific to the Huawei Nova 4. Follow the full Huawei UPDATE.APP guide for screenshots, an interactive progress checklist, and complete troubleshooting.
-
Format a USB Type-C flash drive to FAT32 on your PC
-
Extract the firmware and create "dload" directory
-
Connect the USB OTG drive to the phone
-
Trigger 3-Button Dload recovery mode
-
Allow automated partition flashing to complete
Firmware Package for Kirin 970
Official Huawei stock firmware packages for the Nova 4 are provided as archive files containing UPDATE.APP. When copied onto a FAT32 USB Type-C OTG flash drive inside a root "dload" directory, the stock recovery environment reads the container to write system, vendor, kernel, and product partitions.
UPDATE.APP
Official Huawei stock firmware is provided as an archive containing UPDATE.APP. Extract the package and ensure UPDATE.APP sits directly inside a folder named "dload" on the root of your FAT32 USB Type-C OTG drive.
The Huawei Nova 4 is built on the HiSilicon Kirin 970 (10nm) processor under project codename Venice (VCE). Hardware editions include the international dual-SIM model (VCE-L22 / Venice-L22B), the domestic Chinese Standard Edition (VCE-AL00 with a 20 MP sensor), the domestic High Edition (Venice-AL00B with a 48 MP Sony IMX586 sensor), and the China Mobile edition (VCE-TL00).
Because the Nova 4 features no external microSD expansion slot, offline Dload recovery requires a USB Type-C OTG flash drive formatted as FAT32 with an MBR partition layout. Always confirm that your package matches the exact camera hardware revision and regional Cust identifier (C636 Global, C185 Middle East, C00 China, C01 China Mobile) before flashing.
Huawei Nova 4 Firmware Versions
Representative tested builds for each confirmed hardware model variant of the Huawei Nova 4. Always confirm your model, camera variant, and regional Cust tag before flashing.
| Version | Region | Android Version | Size | MD5 | Download |
|---|---|---|---|---|---|
10.0.0.177(C636E3R4P4) |
VCE-L22 / Venice-L22B — Global / Asia-Pacific (Dual SIM) | Android 10 (EMUI 10.0.0) | 4.48 GB | — | ⬇️ Download |
9.0.1.158(C185E1R1P1) |
Venice-L22B — Middle East & Africa (Dual SIM) | Android 9.0 (EMUI 9.0.1) | 3.63 GB | — | ⬇️ Download |
10.0.0.167(C00E35R2P4) |
Venice-AL00B — China All-Netcom (High Edition 48MP) | Android 10 (EMUI 10.0.0) | 4.77 GB | — | ⬇️ Download |
10.0.0.166(C00E34R2P4) |
VCE-AL00 — China All-Netcom (Standard Edition 20MP) | Android 10 (EMUI 10.0.0) | 4.77 GB | — | ⬇️ Download |
102.0.0.215(C01E205R2P7) |
VCE-TL00 — China Mobile | Android 10 (HarmonyOS 2.0.0) | 5.44 GB | — | ⬇️ Download |
This device family has 6 verified packages across Global, Middle Eastern, Chinese domestic, and HarmonyOS 2.0 releases. Browse the complete 6-package archive on AndroidFirmwareFile.com →
Huawei Nova 4 — Important Notes
The international Huawei Nova 4 (model VCE-L22) was launched with official Google Mobile Services certification. Performing an official stock Dload reflash restores original system partitions while preserving Google Play Protect certification and banking app functionality.
If your device is completely hard-bricked with a black screen and fails to enter recovery or fastboot, repair technicians utilize factory test point bridging to force HiSilicon USB COM 1.0 mode, restoring foundational partition tables via Huawei Image Download Tool (IDT).
Troubleshooting Huawei Nova 4 Dload Flashing & EMUI Installation Errors
Kirin 970 XLOADER Anti-Rollback Check Fail: Major Version Downgrade Blocked
Community repair discussions indicate this error occurs when attempting to flash an EMUI 9.0 or EMUI 9.1 package over an active EMUI 10.0 installation. The Kirin 970 secure boot ROM prevents XLOADER counter regressions via Dload. Technicians suggest using Huawei HiSuite on a PC for authorized rollbacks rather than Dload.
EMUI update screen does not detect UPDATE.APP over USB Type-C OTG connection
Usually caused by an unsupported file system format or an unpowered USB connection. Repair forum members suggest re-formatting the USB flash drive as MBR FAT32 (avoiding exFAT/GPT), verifying that the phone battery holds over 50% charge to supply adequate VBUS power to the drive, and testing a direct USB Type-C dual-drive.
Camera application crashes or shows black screen after Dload firmware installation
Occurs when cross-flashing firmware across differing camera sensor revisions on the Nova 4. Community technicians observe that flashing High Edition Venice-AL00B (48 MP) firmware onto Standard Edition VCE-AL00 or VCE-L22 (20 MP) hardware results in kernel sensor probe errors. Reflash the correct package matching your camera hardware.
For complete Huawei Dload error resolutions, test point diagrams, and driver walkthroughs: Huawei Flashing & Dload Error Directory →
Frequently Asked Questions — Huawei Nova 4
Because the Nova 4 has no internal microSD card slot, Dload must be executed through a USB Type-C OTG drive. If the circular update screen fails to initiate, check that your USB drive is formatted with an MBR partition scheme in FAT32 (EMUI recovery cannot mount exFAT or NTFS). Also confirm that UPDATE.APP is placed directly inside root "dload" without nested subdirectories.
No. Huawei Kirin 970 bootloaders verify the regional Cust identifier stored in the motherboard oeminfo partition. Attempting to install Chinese C00 firmware on an international C636 or C185 device via Dload will be rejected at 1% or 5% with a "Software install failed" error.
The international VCE-L22 hardware variant utilizes a 20 MP primary camera sensor alongside a 16 MP ultra-wide lens and a 2 MP depth sensor. The 48 MP Sony IMX586 camera was exclusive to the Chinese High Edition (Venice-AL00B). Always flash the package matching your camera hardware variant to prevent camera app crashes.
Direct Dload downgrades between major Android versions are blocked by HiSilicon anti-rollback counters (XLOADER version verification). Attempting a direct Dload downgrade will trigger an install failure. Official rollbacks must be performed using Huawei HiSuite on a Windows computer using the "Switch to other version" function.
Ready to Flash?
Follow the full step-by-step Huawei UPDATE.APP guide with interactive progress tracking, prerequisite checklist, and complete troubleshooting.